 Speedy Delivery
 Exceptional Advice
  14 Days Return Policy
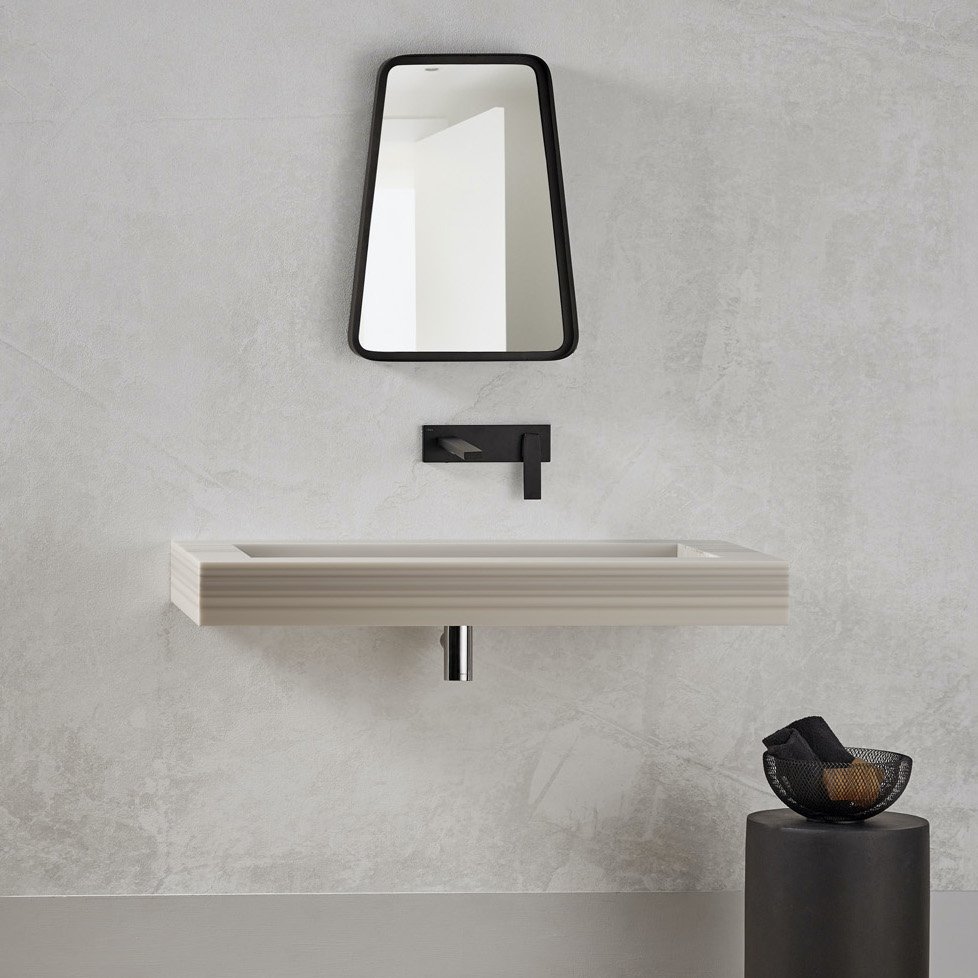
How to Fit a Wall-Hung Washbasin in 5 Steps
It might have been some time since you plumbed in your own basin. Or maybe you’ve never done any bathroom DIY in your life. Whichever the case, this handy guide to fitting your own washroom sink will help you to achieve a luxury result without having a plumber or fitter do everything.
Can I fit my own washbasin?
It’s relatively straightforward to fit your own bathroom sink and not the mammoth task you might think. We’re going to show you how to remove the old basin first and, then, how to replace it with your new luxury washbasin and fit a waste pipe.
If you already have your new washbasin, you’ll be ready to get started. If not, the first thing you’re going to need to do is measure up to make sure you choose the right products at the right size.
Wall mounted washbasins
We’ll be showing you how to fit a wall-mounted washbasin as this is the type of luxury basin we most typically sell to our clients and customers. Wall hung basins and vanity units are popular because they look modern and minimalist, but also because they save on space and work well in smaller bathrooms. The diagram below shows you all the component parts of a typical wall-mounted bathroom sink.

Can I replace a pedestal basin with a wall-mounted basin?
If you’re thinking about changing your old pedestal style washbasin for a more modern wall-mounted bathroom sink, you will probably want to get the help of a plumber or installer. Just because you will probably need to reroute the pipework in order to do so, which is where it gets a bit more complicated.
What we’re going to show you, here, is how to do a like-for-like swap of one wall-mounted washbasin for another.
What tools do I need to fit a washbasin?
Making sure you have the right tools for the job is really important. So, before you even get started on removing the old washbasin, make sure you have the following:
- Pencil
- Pliers
- Drill
- Adjustable spanner (AKA plumber’s wrench or monkey wrench)
- Screwdrivers (Phillips head and flathead)
- Tape measure
- Plumbing sockets
- Spirit level
- Wall plugs
- Silicone
- Bucket or washing-up bowl
- Dust sheets for the floor
How to remove a wall-mounted washbasin
The first thing you’re going to need to do before you fit your new basin is to remove the old one. All you need to do is:
- Turn off the water supply at the mains – this is very important!
- Now disconnect your taps by tightening the nuts on the supply lines, using a pair of pliers or an adjustable spanner – catch any leaking water into your bucket or washing up bowl
- Locate the plastic or metal nut in the wall that connects the drain to the sink, then unscrew it with your hands (loosen with a set of pliers if it’s too tight)
- Carefully remove the silicone that connects the basin to the wall using a knife – when you’re finished, you should be able to move the sink away from the wall
- Carefully lift the washbasin off its brackets and place out of the way
- If you intend to use new wall brackets, remove the old ones using the appropriate screwdriver – otherwise, you can leave them in place
Fitting a new bathroom sink
There are 5 very straightforward steps to fitting a new basin the bathroom. Read through them before you start and decide if you definitely want to do it yourself. They’re relatively easy but DIY isn’t for everyone and, if you’re not confident, just get an installer to do it.
Because most wall-hung sinks come with wall-mounted taps, these days, you will almost certainly need a plumber to help you fit the taps (unless you’re a seasoned DIY expert). The basin, though, you should be able to do yourself quite easily.
These are the steps:
1. Turn off the water at the supply valves under the sink
This is very important. You’ll see two valves – a hot one and a cold one. They are flexi-pipes and have a compression fitting with a screw on it. Turn that screw a quarter way and the water flow should stop. If you can’t see a compression fitting, just switch off the water at the mains (which you should really do anyway) using what will usually be a big, circular, red tap.
2. Put your sink at the level you want it and mark with a pencil
You’ll need a friend for this. With one person at each end, lift the new washbasin to the level you want it to hang at and carefully mark out on the wall where the top and centre of the basement will sit. Lay the basin carefully down and then draw a straight horizontal line in faint pencil across the wall to mark out the position.
3. Installing the waste and trap
Insert the waste pipe into the plug hole. Now, line them up with the underside of the plughole in the sink, thread and now seal with silicone. Make sure the washer is applied so you have a good, tight fit.
Screw the new nut onto the thread, ensuring any overflow holes (rare in contemporary wall-mounted washbasins) are lined up and pushing a screwdriver down into the plughole so that it stays in place as you do so. Now all you need to do is connect the waste pipe to the trap and that’s on!
4. Hanging a new wall-mounted washbasin
If you have a weaker wall and are using a wall-mounted basin frame, we suggest you get a professional to help you with this part. However, if your walls are strong and you’re simply using brackets, then you can easily do it yourself.
Simply mark out equidistant points from each side of the centre you defined above and then hold the first (left) bracket against the wall so you can see where the holes need to be and mark them out with a pencil. Put the bracket down, drill the holes, push in the wall plugs and screw in the bracket.
Now hold the second (right) bracket in position at the other side, take your spirit level and make sure they’re perfectly aligned and mark out your drill holes for the second bracket. Put the bracket down, drill the holes, push in the wall plugs and screw in the second bracket. Now you can attach the sink and, hey presto, a wall-hung washbasin!
5. How do I connect the waste pipes?
This is very easy. Simply connect the waste and trap to the domestic foul water drain, using the nut on the waste pipe, and you’re good to go!