 Speedy Delivery
 Exceptional Advice
  14 Days Return Policy
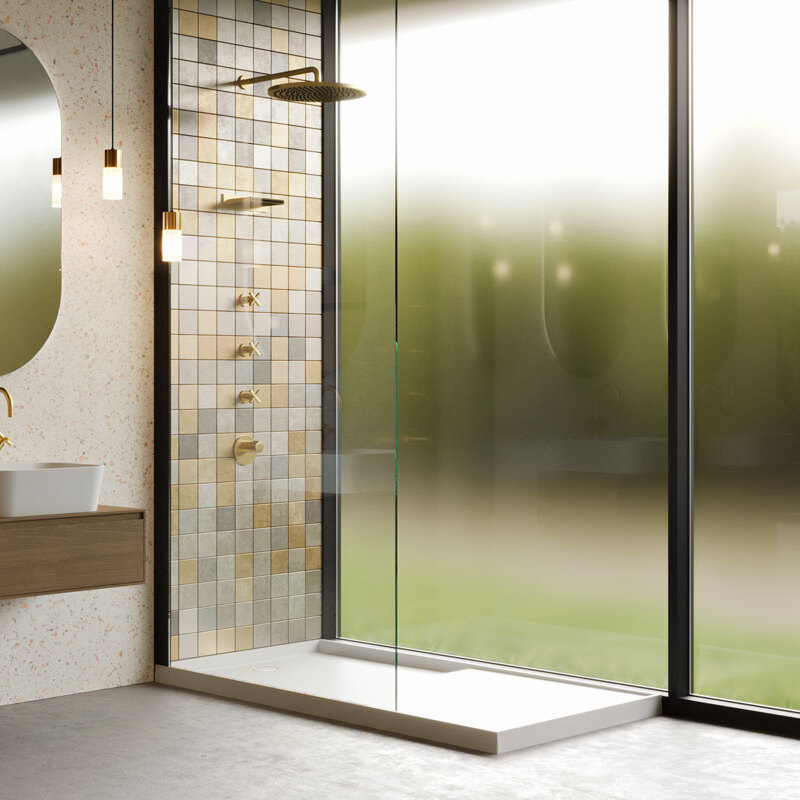
How Do You Secure a Shower Screen?
If you’re planning to do some DIY in the bathroom, you may be wondering how to fit your own shower screen. It’s a very elegant piece of bathroom furniture because it’s so simple and opens up the space so much, so actually installing a shower enclosure yourself might seem like it’s a difficult thing to do. The truth is, though, with the right equipment, a careful approach and a passion for perfectionism, there’s no reason you can’t do it yourself.
What are the advantages of a shower screen?
Shower screens offer a more tasteful alternative to shower curtains or cubicles. They are unimposing and, yet, stylish—allowing the beauty of the space to speak for itself. What’s more, they fit in with any style of bathroom, whether you’re sprucing up a shabby-chic bathroom or perfecting the clean lines of a minimalist bathroom.
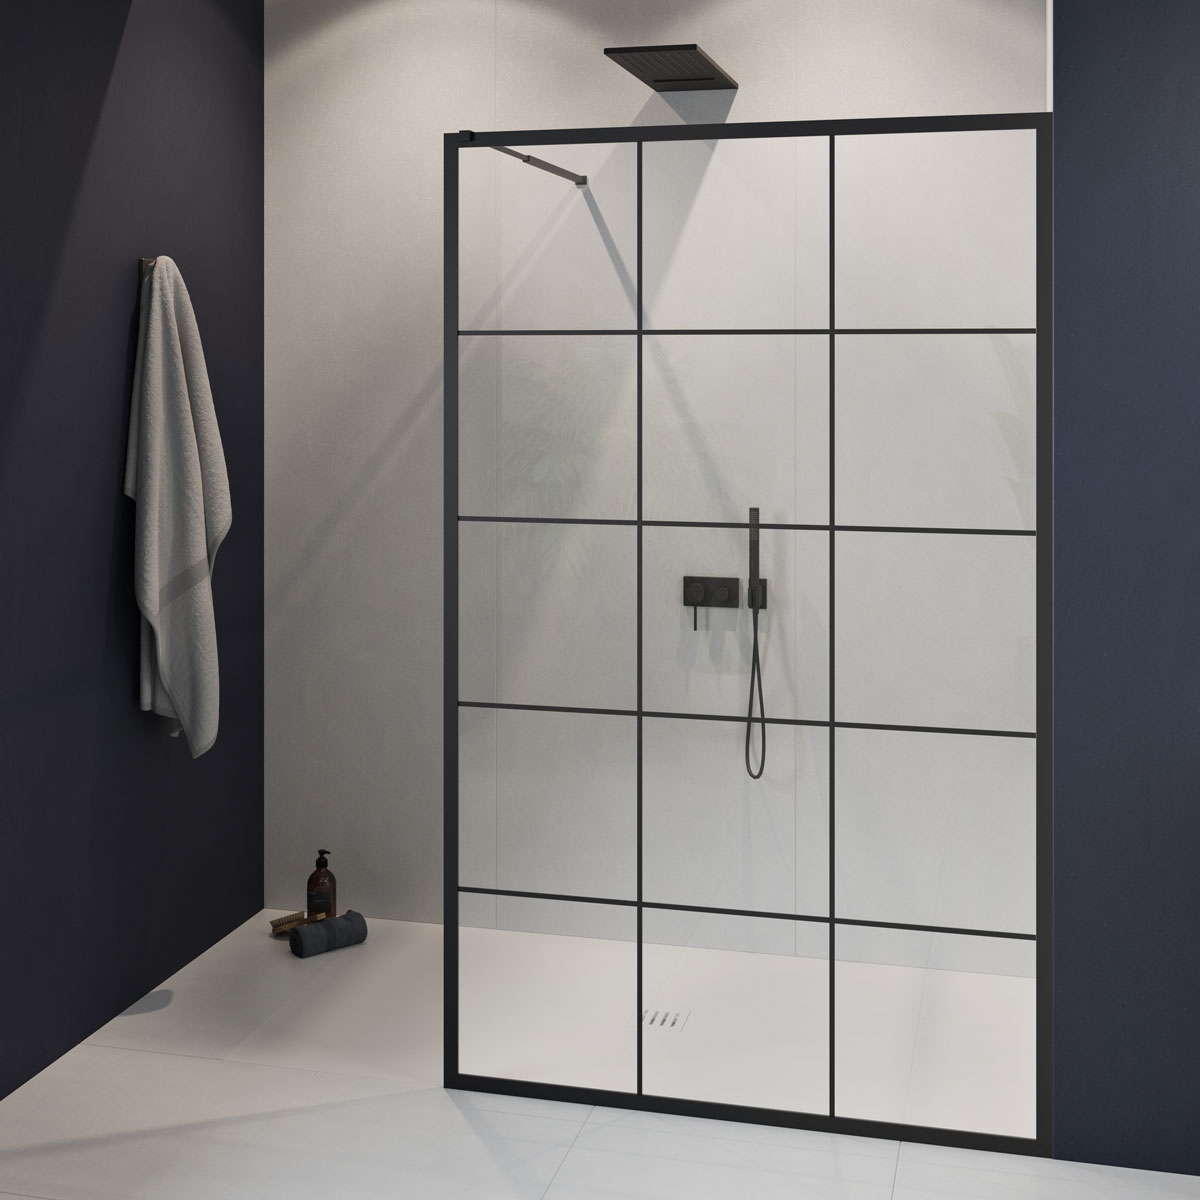
Easy to keep clean, all it takes to keep a shower screen clean is a swipe with a squeegee after each use and a wipe down with some bathroom spray every few days. None of the nasty build-ups of dirt that you’d get with a much trickier-to-clean shower cubicle and none of the hazardous mould spots you’d get with a shower curtain.
Finally, and most importantly, in this case, they’re really easy to install. A shower screen is much easier to fit than a cubicle. So it makes practical sense, as well as stylistic sense, to install one for your bathroom makeover.
What tools do you need to fit a shower enclosure?
There are a few simple tools and products you’ll need to install your own shower screen. Make sure you have them all before you get started, so you’re not running to the DIY store halfway through the job. Here’s a checklist for you:
- Tape measure
- Marker pen or pencil
- U channel (if not provided with product)
- Spirit level
- Masking tape
- Circular saw
- Workbench
- Drill
- Screws and plugs (if not provided with product)
- Step ladder
A U channel is a u-shaped strip of aluminium or plastic in which the wall and floor sides of your shower screen will rest. The top of the screen will be held in place by a support bar, which should have been provided with the product. Make sure that the U channel you purchase snugly fits the depth of your shower screen as they come in different sizes.
Fitting a shower screen
Now it’s time to install your shower screen. Firstly, measure how far away from the opposite wall you want your screen to be. You should, ideally, leave as much space between the shower tap and screen as you do between the shower tap and wall.
Mark up the distance at which you want the inside of the screen to start. Now go up and down the wall marking the same distance from the wall that will face the shower screen. Put pieces of masking tape next to the pen or pencil marks on the inside of where the screen will be. This will act as a guide when fitting your U channel. Do the same along the floor where the screen will sit.
Now cut the first U channel to the length of the shower screen on the workbench using the circular saw. Then cut the second U channel to the width of the shower screen. Turn over the U channels and drill holes in the back at even points up and down them. One at one end of each, one at the other end of each and more in between, along the lengths.
Set the longer U channel in place on the wall and drill holes in the wall to correspond with the holes in the U channel. Do the same with the floor channel, remove the loose U channels and put screw plugs in all the holes. Now set the U channels back in place and screw them into the plug holes using the screws.
The next bit will almost certainly require you to enlist another person’s help. Take the shower screen and insert it into the U channels. It should sit perfectly parallel to the opposite wall in a straight line. While one person holds the shower screen in place, use the step ladders to help you fit the support bar. Slot the grip of the support bar over the top of the shower screen not too close to the wall with the shower tap on it, but not too far at the other end either. It should be about a quarter of the way from the end of the shower screen. Now drill holes in the wall that correspond to the holes in the wall end of the support bar.
Plug the holes with screw plugs, then secure the support bar to the wall with screws. Your shower screen is now fitted, safe, secure and—hopefully—looking fantastic.
I told you it was easy.
Looking for something else to read? Check out our article on how Pop Art inspired interior design.